Replicate S3 buckets into another region
Server-side encryption (SSE) in Amazon S3 automatically encrypts data when it is written to the storage service and decrypts it when accessed, providing robust data protection, compliance with regulatory requirements, and ease of management.
Server-side encryption with Amazon S3 managed keys (SSE-S3) is free, however, advanced encryption options in Amazon S3 may incur costs. Amazon S3 offers pricing details on their official pricing page.
What we'll be doing
- Review our existing module
- Configure Server-side encryption (SSE)
Review our existing module
The first step is clone the Nitric repository and examine how the Nitric Terrraform provider provisions an S3 bucket.
git clone https://github.com/nitrictech/nitric
cd nitric
The AWS S3 module in the default Terraform provider performs the following tasks:
- Creates a unique ID for the S3 bucket to ensure unique naming.
- Provisions an S3 bucket with a unique name using the generated ID.
- Tags the bucket for identification.
- Grants S3 permission to invoke specified Lambda functions.
- Configures S3 bucket notifications to trigger Lambda functions based on specified events using dynamic blocks.
To begin our customization, we will start adding configuration to this module.
Add Server Side Encryption (SSE)
Introduce the following configuration into the aws/deploytf/.nitric/modules/bucket/main.tf:
# AWS S3 bucket server-side encryption configuration
resource "aws_s3_bucket_server_side_encryption_configuration" "bucket_encryption" {
  bucket = aws_s3_bucket.bucket.bucket

  rule {
    apply_server_side_encryption_by_default {
      sse_algorithm = "AES256"
    }
  }
}
Full documentation can be found on the Terraform registry.
Building and using your updated provider
The Nitric project includes a make file that will build and install your provider as nitric/awstf@0.0.1 by default.
Run make install from the provider's root directory - nitric/cloud/aws
The provider can then be used directly in your project's stack file as follows.
# The nitric provider to use
provider: nitric/awstf@0.0.1

# The target aws region to deploy to
region: us-east-2
If you don't have a stack file use the nitric stack new to create one.
You'll also need to enable beta-providers in your Nitric project by adding the following to your project's nitric.yaml file:
preview:
  - beta-providers
You can generate the Terraform code by running the following command:
nitric up
To deploy the application using Terraform, you can navigate into your Terraform stack directory and use the standard Terraform commands:
terraform init
terraform plan
terraform apply
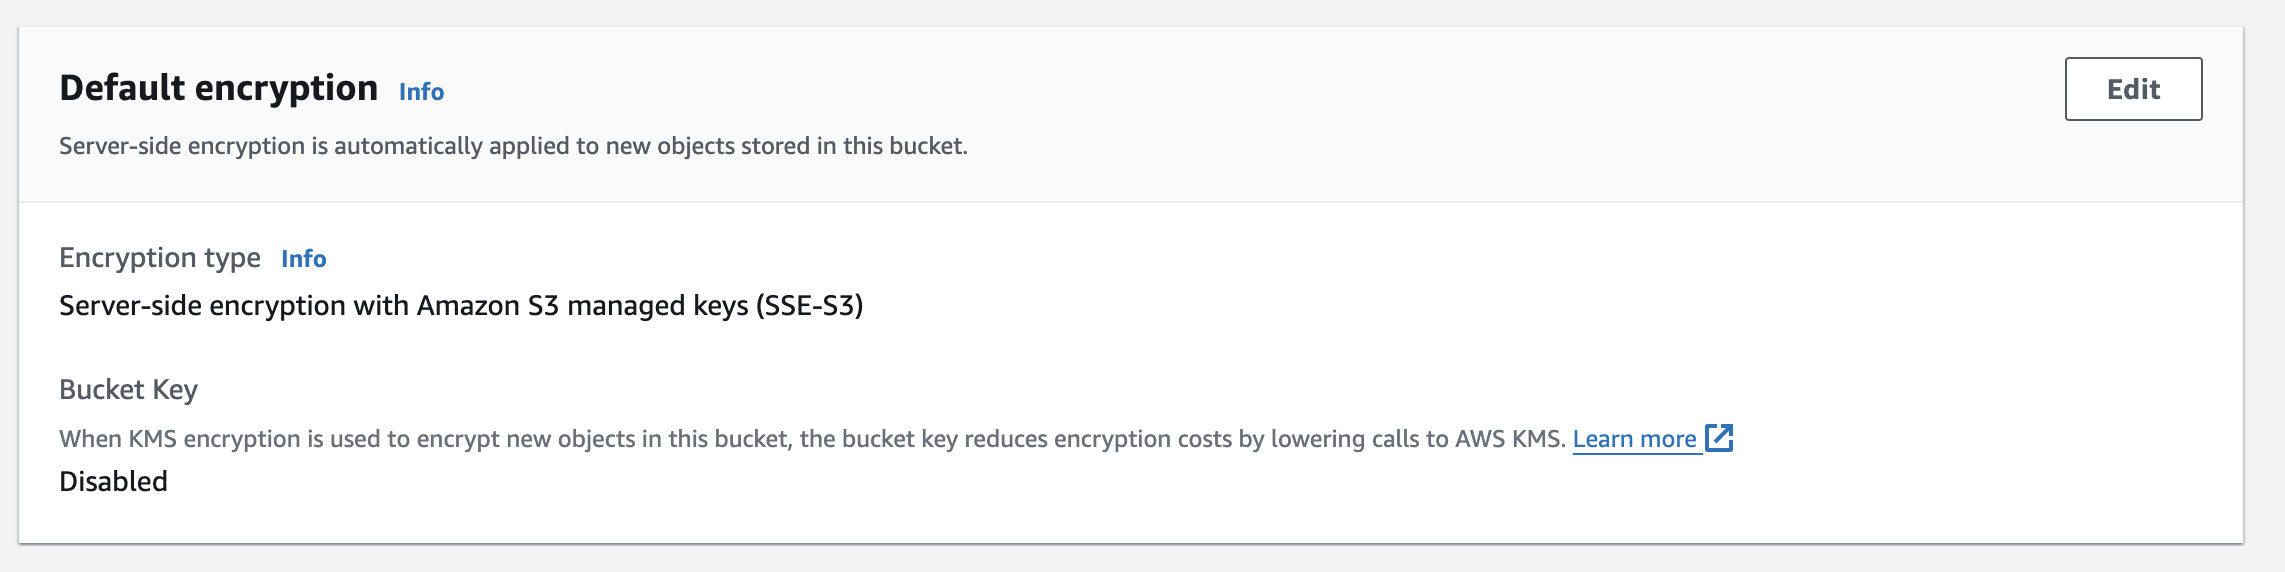
You can examine your configuration by logging into the AWS console.